I have made quite a few batches of soap so far, and was inspired to join in on the Soap Challenge Club fun over at Great Cakes Soapworks. This month's challenge was combed soap. As I said, I'm new to soaping, and I'm especially new to colorants in my soap. I've had a few, *ahem* learning experiments, shall we say. My first try at coloring soap ended with a soap with three variations on the same tan. My second attempt was OK. But the third, oh, the third was supposed to be a nice Christmasy Red and Green. It ended up orange and purple!! Lessons learned, research completed, new colorants ordered for the challenge!
J (and S) so nicely documented the process for me. Excuse the ridiculously messy counters in the background. I decided soaping was more important than cleaning (which I did do after the soaping fun was completed!) Plus, I ended up using the end of a couple of bottles of oils, so those somehow ended up in the pics too. Also, excuse the messy hair. (That's a story for a different blog, that has nothing to do with crafting and everything to do with the fact that I was not allowed to get my head wet for 12 days!) J seems to think every pic of something I'm doing needs to include the actual person doing said thing.
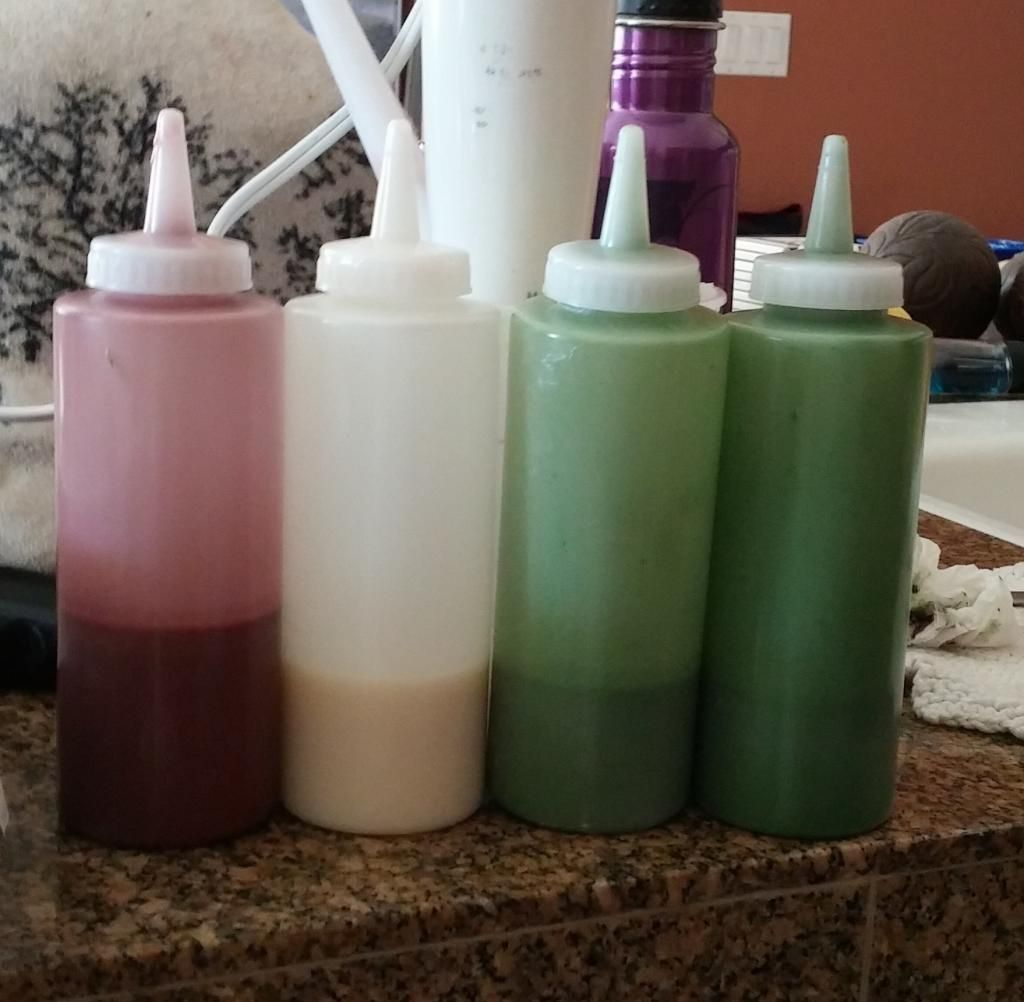
I started with a basic, slow moving soap batter. I used the recipe provided by the Amy Warden, the club hostess. It was my first soap with lard, but I'm glad I finally tried one! Then I divided out a few small portions for colorants (but no fragrance.) In her example, Amy used five colors. But I hate pink, so I just went with a little more red and called it good.
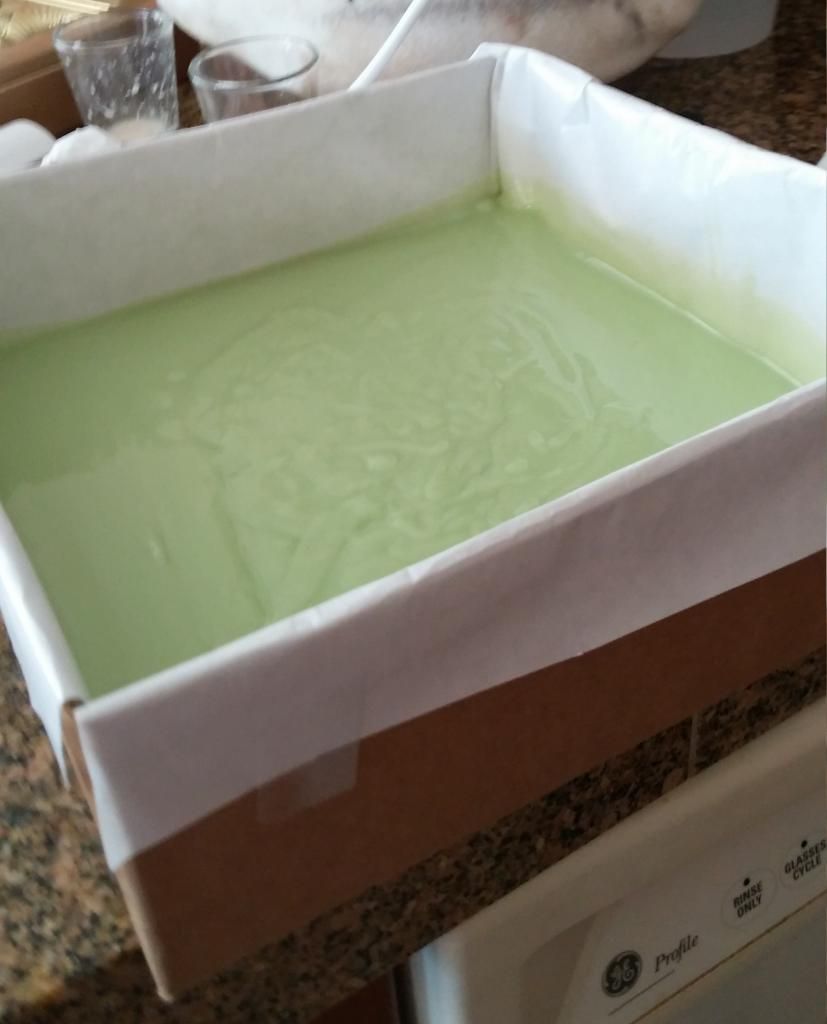
I scented and colored the majority of the batter, then poured it into my makeshift mold (I chopped up a box that some supplies came in! Feeling pretty thrifty about that one) as a base for the pretty swirls.


Then the fun began! I just layered the colors on, in squiggly lines, until I was out of colored soap batter.
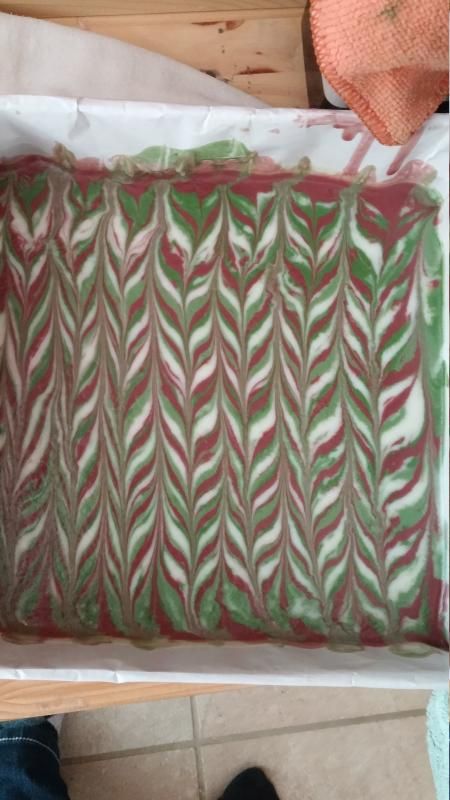
Next comes the combing. With my "fancy" comb.
More lessons learned: Moving the soap to a safe place where it could sit for the chemical reaction to complete, some of the prettily swirled lines got less pretty. Next time (and there will be a next time, this soap is seriously fun, and just "wow"!) I'll plan to leave it in place for a few hours before moving it.
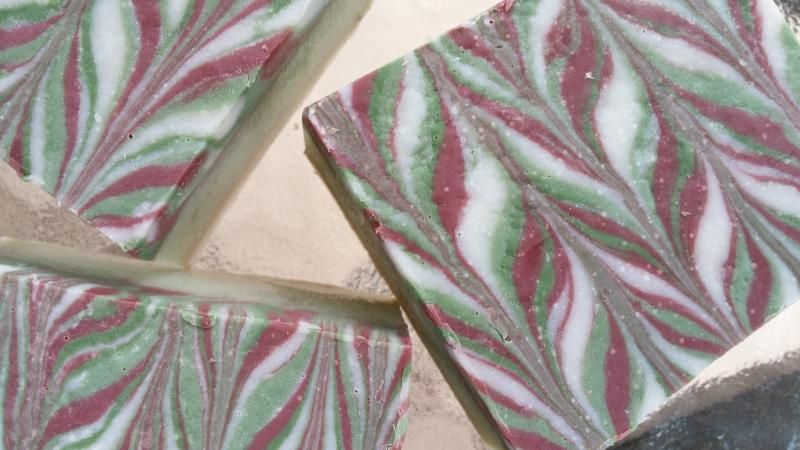
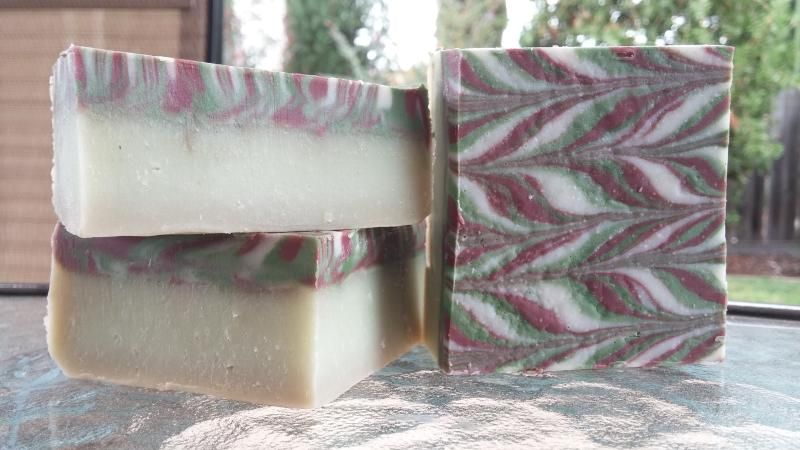
Then the soap had to sit for a day. Once the soap had set up a bit, I could pull it out of the mold and cut it. Here's the result:
The top of the soap has a different texture than I expected. I'm not entirely sure whether this is due to the recipe, or if it's due to the measures I took to avoid soda ash (a white coating on the top of the soap, which I thought would take away from the effect of the combing) I guess more experimentation is in order! I am quickly going to be overrun with soap at this rate!

6 comments:
I love those christmas colors :0)
Mine got the same texture on top! I think it's from the alcohol spray on top while it was still rather fluid. Your soap turned out great! You have some talented photographers too. :) So glad you joined us this month - looking forward to having you back!
Kudos to you for leaving it at the "Chevron" design stage - very elegant. I keep meaning to but the opportunity to make more designs always wins out. ;)
Looks great and I've been rethinking spraying my soap tops with the alcohol for the same reason. I'm not fond of soda ash but it can be removed. Don't like the pebbly texture of the alcohol spray and not sure how that can be remedied.
Thanks! I am glad they worked out this time! I was pretty disappointed when my green went all purple on me.
Thanks! My husband talked me into the less-is-more approach. But I am itching to try the serpentine! Next week...
Thanks! The challenge is a great way to get to try new techniques (and at this point, most are), so I am sure I'll be back for more! I'll play with the timing on the spray for my next try.
Post a Comment